Plumbing - PEX Crimp Connector Step by step
PEX crimp connections
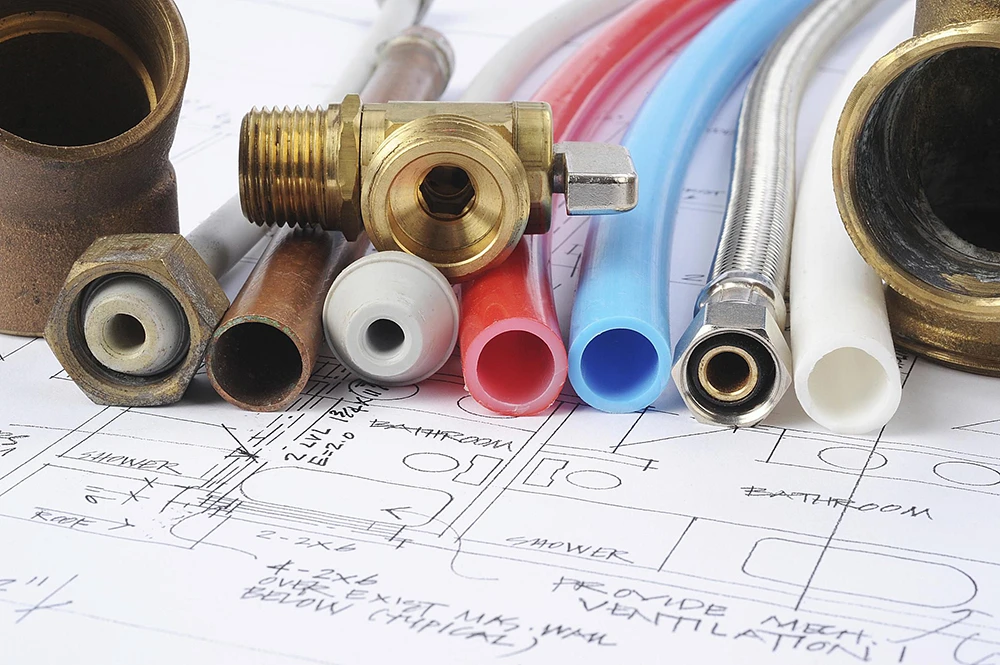
PEX crimp connections are a popular method for joining PEX tubing in plumbing systems. Here's a step-by-step guide to making a PEX crimp connection:
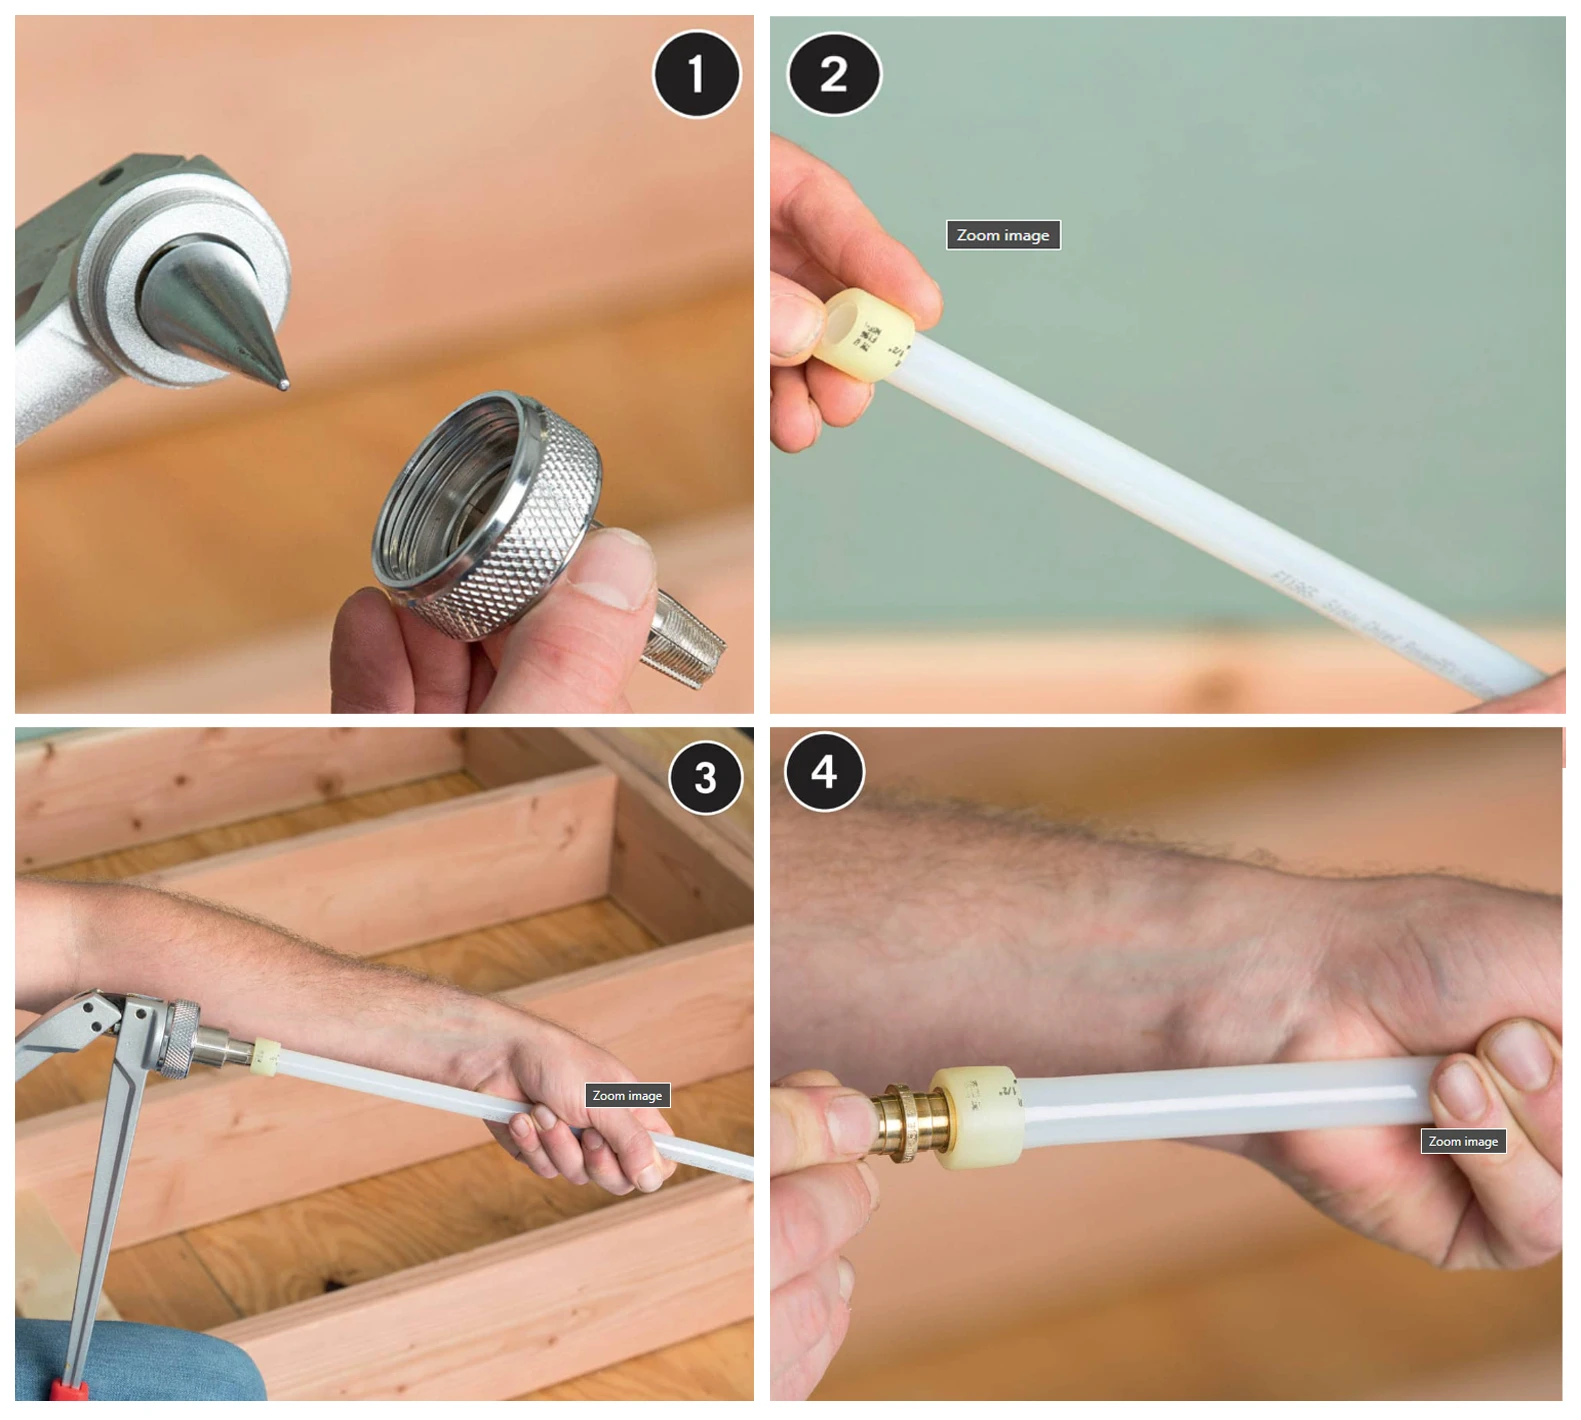
Cut the PEX tubing: Use a PEX cutter to ensure a smooth and even cut. Position the cutter at 90 degrees to the tubing.
Slide the PEX crimp ring: Slide the crimp ring over the tubing, approximately 2 inches past the end.
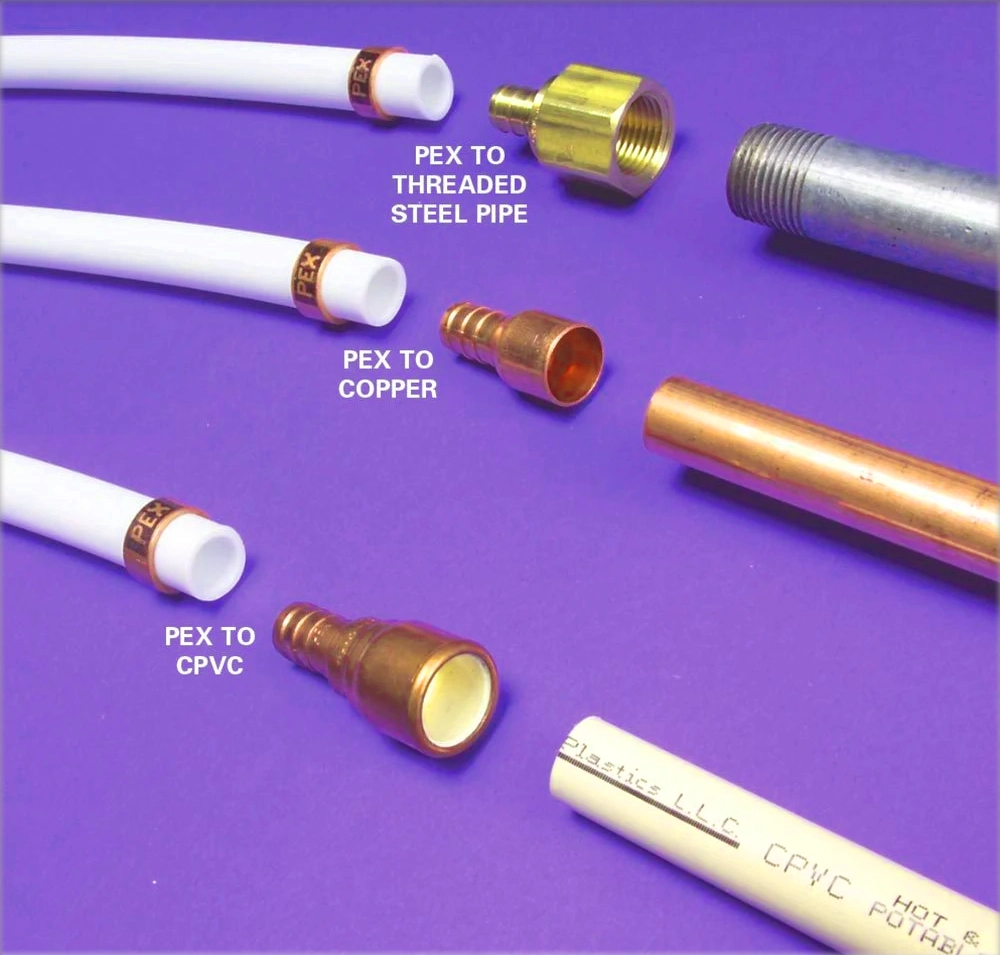
Insert the PEX fitting: Fully insert the PEX fitting into the tubing so that the fitting's shoulder touches the tubing.
Position the crimp ring: Position the crimp ring 1/4 to 1/8 inch from the end of the tubing, right above the fitting's barbs.
Crimp the ring: Open the jaws of the PEX crimp tool and position it over the crimp ring at 90 degrees to the tubing. Close the tool's jaws completely to crimp the ring.
Check the connection: Use a go-no-go gauge to ensure the connection is secure. If the connection doesn't gauge properly, use a decrimping tool to remove the crimp ring and redo the connection.
This method is suitable for all types of PEX tubing (A, B, and C) and is popular among DIY enthusiasts because of the ability to check the completed connection with a go-no-go gauge.
Full-Circle Crimping Tools
PEX cirmp work used tools include : PEX Cuter ,PEX full-circle crimping tool and go/no-go gauge .